Introduction to Apache Performance Tuning
Apache is a powerful and flexible web server that powers a significant portion of the world's websites. However, without proper performance tuning, even the most robust server can become sluggish and unresponsive, impacting the user experience and potentially driving visitors away. In this section, we'll provide an overview of the importance of performance tuning for Apache web servers, common performance issues you may encounter, and the goals of tuning your Apache server.
Why Performance Tuning is Necessary
Performance tuning is critical for several reasons:
- User Experience: Slow load times and unresponsive pages can frustrate users, leading to a higher bounce rate and a negative overall experience.
- Resource Utilization: Efficiently using server resources like CPU, memory, and bandwidth ensures that you can handle a larger volume of traffic without needing to constantly scale hardware.
- SEO Benefits: Search engines like Google consider page speed as a ranking factor, so a faster website can improve your search engine rankings.
- Cost Efficiency: Optimized performance reduces the need for additional resources, leading to cost savings, especially in hosted or cloud environments.
Common Performance Issues
Understanding common performance issues can help you focus your tuning efforts more effectively. These issues include:
- High Server Load: Occurs when the server is handling more requests than it can process, leading to slow response times or even crashes.
- Memory Leaks: Certain configurations or modules may consume memory without releasing it, causing the server to run out of resources over time.
- Inefficient Configuration: Default configurations may not be optimized for your specific use case, leading to suboptimal performance.
- Unoptimized Content Delivery: Serving large uncompressed files or not making use of caching mechanisms can significantly slow down content delivery.
Goals of Tuning Your Apache Server
The main goals of performance tuning your Apache server are:
- Speed: Reduce latency and improve response times to ensure a faster website.
- Scalability: Enable your server to handle a higher number of concurrent connections and request without degrading performance.
- Stability: Ensure consistent performance and prevent server crashes, even under high load.
- Resource Efficiency: Optimize the use of server resources like CPU, memory, and I/O bandwidth, reducing the cost and need for additional hardware.
- Security: Improve the security of your server by minimizing the attack surface and optimizing settings that can prevent certain types of attacks.
By understanding why performance tuning matters, the challenges you may face, and what you aim to achieve, you're better prepared to dive into the practical aspects of Apache performance tuning. In the following sections, we'll provide detailed instructions and best practices to help you optimize your Apache server for peak performance.
Optimizing the Apache Configuration File
Optimizing the Apache configuration file is a crucial step in enhancing the performance of your web server. By fine-tuning certain parameters, you can ensure that your server can handle more requests efficiently and with minimal resource usage. Here, we focus on configuring some of the most impactful directives: MaxClients, StartServers, MinSpareServers, and MaxSpareServers. Let's dive into each of these settings and understand how to adjust them for optimal performance.
MaxClients
The MaxClients directive determines the maximum number of simultaneous client connections that Apache will handle. Setting this value appropriately is essential to avoid server overload and ensure resource availability for each request.
To modify the MaxClients setting, locate the mpm_prefork_module or mpm_worker_module in your Apache configuration file (commonly found at /etc/httpd/conf/httpd.conf or /etc/apache2/apache2.conf).
For example:
MaxClients 256
or for the worker module:
MaxClients 150
The values you set depend on your server's hardware resources and the expected traffic load. A good starting point is to set MaxClients to 256 for typical servers, but you may need to adjust this based on monitoring and performance testing results.
StartServers
The StartServers directive specifies the number of child server processes created at startup. This is crucial for environments where you expect an initial surge in traffic, as it allows Apache to handle requests immediately without delay.
For mpm_prefork_module, you can configure it as follows:
StartServers 5
and for mpm_worker_module:
StartServers 2
Setting this value too high can lead to unnecessary memory usage, while setting it too low can cause delays in request handling when traffic spikes occur.
MinSpareServers and MaxSpareServers
The MinSpareServers and MaxSpareServers directives control the number of idle child server processes. Keeping a balanced number of spare servers ensures that there are always processes available to handle incoming requests immediately, without causing resource wastage.
For mpm_prefork_module:
    MinSpareServers 5
    MaxSpareServers 10
For mpm_worker_module:
    MinSpareThreads 25
    MaxSpareThreads 75
The MinSpareServers value should be high enough to handle sudden spikes in traffic, but low enough to prevent unnecessary resource usage. Similarly, MaxSpareServers should not be so high that it wastes system memory, but sufficient to ensure immediate handling of multiple simultaneous requests.
Summary
Optimizing these key directives in the Apache configuration file not only fine-tunes your server's performance but also creates a more stable and responsive environment for handling web traffic. Here’s a consolidated example for a mpm_prefork_module setup:
    StartServers         5
    MinSpareServers      5
    MaxSpareServers     10
    MaxClients         256
For a mpm_worker_module setup, it might look like this:
    StartServers         2
    MinSpareThreads     25
    MaxSpareThreads     75
    ThreadsPerChild     25
    MaxClients         150
Adjust these settings based on the specific needs and resources of your server. Regular performance testing with a tool such as LoadForge can help you fine-tune these parameters, ensuring your Apache server maintains optimal performance under varying loads.
Configuring KeepAlive Settings
The KeepAlive directive in Apache is a crucial setting for enhancing the performance and efficiency of your web server. By enabling persistent connections, the KeepAlive directive allows multiple requests to be sent over a single TCP connection, reducing overhead and latency.
Understanding KeepAlive
When a browser requests multiple assets from your server (such as images, scripts, stylesheets), each request typically requires a new TCP connection. Creating these connections can introduce latency, especially for clients with higher network delay. The KeepAlive directive mitigates this by reusing an existing connection for multiple requests, thus reducing the time and resources needed to establish new connections.
Benefits of KeepAlive
- Reduced Latency: Fewer TCP handshakes are required, lowering the overall latency for clients.
- Lower CPU Usage: Reusing connections reduces the CPU overhead associated with establishing new connections.
- Improved Throughput: Persistent connections can increase the number of requests handled in a given timeframe.
Configuring KeepAlive
To configure the KeepAlive settings, you need to make adjustments in the Apache configuration file (httpd.conf or apache2.conf depending on your system).
The primary settings related to KeepAlive are:
KeepAlive: Enables or disables persistent connections.MaxKeepAliveRequests: Limits the number of requests allowed per connection.KeepAliveTimeout: Sets the amount of time the server will wait for subsequent requests on a per-connection basis.
Below is an example configuration with recommended settings for optimal performance:
KeepAlive On
MaxKeepAliveRequests 100
KeepAliveTimeout 5
Explanation of Settings
-
KeepAlive On: This setting enables the KeepAlive feature. By default, it may be turned off, so ensuring it is turned on is the first step.
-
MaxKeepAliveRequests 100: This parameter sets the maximum number of requests allowed per persistent connection. A value of 100 is generally sufficient for most applications, balancing connection reuse with avoiding excessively long-lived connections.
-
KeepAliveTimeout 5: This sets the number of seconds the server will wait for a subsequent request before closing the connection. A setting of 5 seconds is typically adequate. Setting this too high can tie up server resources unnecessarily, while setting it too low may negate the benefits of KeepAlive for slower clients or complex pages.
Best Practices
- Monitor and Adjust: Performance tuning is not one-size-fits-all. Monitor your environment and adjust
MaxKeepAliveRequests and KeepAliveTimeout to meet the demands of your specific traffic patterns.
- Balance Resource Usage: Persisting connections requires server resources. While enabling
KeepAlive will generally improve performance, it is crucial to balance this against available server resources to avoid potential resource exhaustion.
Configuring KeepAlive settings appropriately can lead to significant performance gains in your Apache web server, particularly in reducing latency and improving throughput. Carefully monitor server performance and adjust these settings according to observed needs and resource availability for the best results.
Enabling Gzip Compression
Enabling Gzip compression is a highly effective way to improve the performance of your Apache server by reducing the size of HTTP responses. This section will delve into the benefits of Gzip compression, how to enable it in Apache, and its impact on server performance.
Benefits of Gzip Compression
Gzip compression works by compressing the data before sending it to the client, which can significantly reduce the amount of bandwidth required. Here are some key benefits:
- Reduced Bandwidth Usage: Compressed content uses less bandwidth, which can decrease load times for clients and reduce the strain on your server.
- Faster Page Load Times: Smaller response sizes lead to faster downloads, improving user experience.
- Improved Browser Performance: Modern browsers decompress Gzip data efficiently, making the process seamless for end-users.
Enabling Gzip Compression in Apache
To enable Gzip compression on your Apache server, you'll need to modify the Apache configuration file (httpd.conf or apache2.conf). Follow these steps:
-
Load the mod_deflate Module: Ensure that the mod_deflate module, which is responsible for Gzip compression, is enabled.
a2enmod deflate
-
Configure mod_deflate: Add the following lines to your Apache configuration file to enable Gzip compression for common file types.
 # Enable compression for text, HTML, JavaScript, CSS, XML:
 AddOutputFilterByType DEFLATE text/plain
 AddOutputFilterByType DEFLATE text/html
 AddOutputFilterByType DEFLATE text/xml
 AddOutputFilterByType DEFLATE text/css
 AddOutputFilterByType DEFLATE application/xml
 AddOutputFilterByType DEFLATE application/xhtml+xml
 AddOutputFilterByType DEFLATE application/rss+xml
 AddOutputFilterByType DEFLATE application/javascript
 AddOutputFilterByType DEFLATE application/x-javascript

 # Optional: Exclude certain file types from compression
 SetEnvIfNoCase Request_URI \\
 \.(?:gif|jpe?g|png|mp3|mp4|woff|woff2)$ no-gzip dont-vary
-
Restart Apache: After making these changes, restart your Apache server to apply the new configuration.
systemctl restart apache2  # Debian/Ubuntu
# or
systemctl restart httpd    # CentOS/RedHat
Impact on Server Performance
Enabling Gzip compression can have a substantial positive impact on your server's performance:
- Decreased Response Size: HTTP responses are compressed, making them smaller and faster to transfer.
- Lowered Network Traffic: Reduced size of data being sent over the network results in lower network congestion.
- Improved User Experience: Faster load times enhance the user experience, leading to higher user satisfaction and potentially better SEO rankings.
Conclusion
By enabling Gzip compression, you can significantly optimize the performance of your Apache server with minimal configuration changes. Not only does it reduce bandwidth usage, but it also speeds up the delivery of your web content, creating a smoother and quicker experience for end-users.
This section provides a detailed, technical yet clear guide on the importance and implementation of Gzip compression in Apache. It fits seamlessly into the larger guide, offering precise instructions and explaining the positive effects on server performance.
Tuning TimeOut and KeepAliveTimeout
Optimizing the TimeOut and KeepAliveTimeout settings in your Apache configuration can have a significant impact on server response times and overall efficiency. These settings control how long Apache waits for certain events before closing a connection, influencing resource utilization and user experience.
Understanding TimeOut
The TimeOut directive in Apache specifies the amount of time the server will wait for events before considering the connection idle and closing it. This directive is crucial for managing server resources effectively, as excessively long timeouts can lead to resource exhaustion, while too short timeouts might cause premature termination of legitimate connections.
Recommended Settings for TimeOut
The default TimeOut value in Apache is set to 60 seconds. While this might be suitable for many scenarios, tuning it based on your specific server load and application requirements can enhance performance.
Here are some guidelines for setting the TimeOut directive:
- High-Traffic Websites with Short Transactions: Lower TimeOut values (e.g., 10-20 seconds) to free up resources quickly.
- Websites with Long Transactions: Higher TimeOut values (e.g., 120 seconds or more) to accommodate longer operations like file uploads or complex calculations.
You can set the TimeOut directive in your Apache configuration file as follows:
TimeOut 30
Understanding KeepAliveTimeout
The KeepAliveTimeout directive specifies how long the server should wait for subsequent requests on a persistent connection before closing it. Optimizing this setting can improve resource management and user experience, especially on high-traffic websites.
Recommended Settings for KeepAliveTimeout
Persistent connections are useful but can also tie up server resources. Setting an optimal KeepAliveTimeout ensures that resources are not held up unnecessarily while still allowing benefits from persistent connections.
Here are some recommended KeepAliveTimeout values:
- High-Traffic Environments: Lower values (e.g., 2-5 seconds) to quickly release unused connections.
- Low-Traffic Environments: Higher values (e.g., 10-15 seconds) to benefit from connection reuse.
You can configure the KeepAliveTimeout directive as follows:
KeepAliveTimeout 5
Fine-Tuning TimeOut and KeepAliveTimeout
Achieving the right balance for these settings involves monitoring and tweaking based on server load and traffic patterns. Here are some steps to fine-tune:
- Monitor Current Performance: Use tools like Apache’s built-in status module or other monitoring solutions.
- Analyze Traffic Patterns: Understand peak times and request characteristics.
- Adjust and Test: Change
TimeOut and KeepAliveTimeout values incrementally and observe the impact on performance.
- Load Testing: Use tools like LoadForge to simulate traffic and test performance under different configurations.
Impact on Server Performance
Correctly optimized TimeOut and KeepAliveTimeout settings help in:
- Reducing Latency: Shorter waits improve the perceived speed for end-users.
- Enhancing Resource Utilization: Resources are freed up more efficiently, allowing better handling of concurrent connections.
- Stability under Load: Prevent server overload during peak traffic, avoiding crashes and downtime.
By carefully tuning these settings, you can ensure that your Apache server remains responsive and efficient, providing an optimal experience for users while efficiently managing server resources.
With these adjustments, you've fine-tuned your Apache server to handle varying loads effectively. Next, let's explore Implementing Content Caching for enhanced performance.
Implementing Content Caching
Content caching is a powerful strategy for enhancing the performance of your Apache web server. By caching frequently requested content, you can drastically reduce the load on your server and improve response times for end users. This section provides an in-depth look at different caching mechanisms available in Apache, such as mod_cache and mod_file_cache, and how to configure them for optimal performance.
Understanding Caching Mechanisms
Apache supports several caching modules that can store content in memory or on disk, reducing the need to generate content dynamically for each request. The two primary caching modules we'll focus on are:
mod_cache: A versatile caching module that supports various backends including disk-based and memory-based caching.mod_file_cache: A simpler mechanism that caches static files to improve performance.
Setting Up mod_cache
mod_cache is a robust and flexible caching module that integrates with multiple cache backends. The most commonly used backends are mod_cache_disk for disk caching and mod_cache_socache for in-memory caching.
Enabling mod_cache and mod_cache_disk
To start using mod_cache, you need to load the mod_cache, mod_cache_disk, and mod_cache_socache modules in your Apache configuration file. Add the following lines to your httpd.conf or apache2.conf file:
LoadModule cache_module modules/mod_cache.so
LoadModule cache_disk_module modules/mod_cache_disk.so
LoadModule cache_socache_module modules/mod_cache_socache.so
Basic Configuration Example for mod_cache
Here’s a basic configuration to enable disk caching:
<IfModule mod_cache.c>
    CacheQuickHandler off
    CacheLock on
    CacheLockPath /tmp/mod_cache-lock
    CacheLockMaxAge 5
    CacheIgnoreHeaders Set-Cookie
    <IfModule mod_cache_disk.c>
        CacheRoot "/var/cache/apache2/mod_cache_disk"
        CacheEnable disk "/"
        CacheDirLevels 2
        CacheDirLength 2
    </IfModule>
</IfModule>

<Directory /var/www/html>
    Options FollowSymLinks
    AllowOverride None
    Require all granted
    CacheEnable disk
    CacheHeader on
    CacheDefaultExpire 3600
    CacheMaxExpire 86400
    CacheLastModifiedFactor 0.5
    CacheIgnoreNoLastMod On
</Directory>
This configuration enables disk caching for the entire server and sets various caching directives such as CacheDefaultExpire and CacheMaxExpire to define expiration policies.
Setting Up mod_file_cache
mod_file_cache is used to cache static files, reducing the overhead of serving static content. It works by storing file descriptors in memory, eliminating the need to repeatedly open and close files.
Enabling mod_file_cache
First, ensure the mod_file_cache module is loaded by adding the following to your configuration file:
LoadModule file_cache_module modules/mod_file_cache.so
Configuring mod_file_cache
Here’s a basic configuration to cache specific files:
<IfModule mod_file_cache.c>
    <IfModule mpm_prefork_module>
        CacheFile /path/to/static/file1.html
        CacheFile /path/to/static/file2.css
    </IfModule>
</IfModule>
This setup caches file1.html and file2.css, reducing the file I/O operations for these static resources.
Choosing Between mod_cache and mod_file_cache
-
mod_cache: Use mod_cache when you need a versatile caching solution that can handle dynamic content and has more granular control over caching policies. It's ideal for sites with a mix of static and dynamic content.
-
mod_file_cache: Use mod_file_cache for simpler scenarios where you primarily want to cache static files. It's easier to configure but is limited to what it can cache.
Benefits of Content Caching
Implementing content caching can lead to several performance benefits:
- Reduced Server Load: By serving cached content, the server can handle more requests with the same resources.
- Faster Response Times: Cached content is served quicker, improving the user experience.
- Bandwidth Savings: Reusing cached content can reduce bandwidth usage, especially for large, static resources.
Summary
Properly implementing content caching with modules like mod_cache and mod_file_cache can lead to significant performance improvements for your Apache web server. By understanding and configuring these caching mechanisms, you can minimize server load, reduce response times, and ultimately provide a better user experience. Performance tuning, including effective cache implementation, is a continuous process that can offer substantial rewards when done correctly.
Using a Load Balancer
How Load Balancing Works
Load balancing is a crucial technique for optimizing the performance and reliability of your Apache server. It involves distributing incoming network traffic across multiple servers to ensure that no single server becomes overwhelmed. By balancing the load, you can improve your website's responsiveness, increase its availability, and handle more concurrent users efficiently.
Load balancers operate using various algorithms to determine which server should handle each incoming request. Some common algorithms include:
- Round Robin: Distributes requests sequentially among the available servers.
- Least Connections: Directs traffic to the server with the fewest active connections.
- IP Hash: Routes requests based on the client's IP address, ensuring that a particular client is consistently directed to the same server.
Benefits of Using a Load Balancer
Implementing a load balancer for your Apache server offers several significant advantages:
- Increased Scalability: As your website grows, you can easily add more servers to the pool without affecting performance.
- Improved Reliability: By distributing traffic across multiple servers, you mitigate the risk of server overload and reduce downtime.
- Enhanced Performance: Balancing the load ensures that servers are utilized efficiently, thereby improving response times and overall user experience.
- Flexible Maintenance: With load balancing, you can perform server maintenance or updates without interrupting your website's availability.
Configuring Apache to Work with a Load Balancer
To set up load balancing with Apache, you will generally use the mod_proxy and mod_proxy_balancer modules. Below is a step-by-step guide to get you started:
- Enable Required Modules: Ensure that the necessary modules are enabled in your Apache configuration file (
httpd.conf or apache2.conf).
LoadModule proxy_module modules/mod_proxy.so
LoadModule proxy_balancer_module modules/mod_proxy_balancer.so
LoadModule proxy_http_module modules/mod_proxy_http.so
LoadModule slotmem_shm_module modules/mod_slotmem_shm.so
- Define the Backend Servers: Specify the servers in your load balancer's backend pool using the
<Proxy> directive.
    BalancerMember http://backend1.example.com
    BalancerMember http://backend2.example.com
    BalancerMember http://backend3.example.com
- Configure the Load Balancer Settings: Use
ProxyPass and ProxyPassReverse to route traffic through the load balancer.
    ServerName www.example.com

    ProxyPass / balancer://mycluster/
    ProxyPassReverse / balancer://mycluster/


        BalancerMember "http://backend1.example.com" route=1
        BalancerMember "http://backend2.example.com" route=2
        BalancerMember "http://backend3.example.com" route=3
- Fine-tune Load Balancing Settings: Optionally, you can configure additional settings like
lbmethod to determine the load balancing method (Round Robin by default).
    BalancerMember "http://backend1.example.com" route=1
    BalancerMember "http://backend2.example.com" route=2
    BalancerMember "http://backend3.example.com" route=3
    ProxySet lbmethod=byrequests
Best Practices for Load Balancing
- Health Checks: Implement regular health checks to ensure that only healthy backend servers handle requests.
- Session Stickiness: Use session stickiness (also known as session persistence) to ensure that a user’s session data is consistently directed to the same server.
- SSL Termination: Offload SSL processing to the load balancer to reduce the CPU load on backend servers.
By integrating a load balancer into your Apache server setup, you can achieve a scalable, reliable, and high-performing web infrastructure capable of handling increased traffic and offering a seamless user experience.
Enabling Connection Pooling
Efficient database connection management is a critical aspect of maintaining optimal performance on your Apache web server. Connection pooling allows you to reuse database connections rather than opening a new one for every request, which significantly reduces the overhead associated with database operations. This section guides you through the process of enabling connection pooling in Apache, elucidates its benefits, and outlines best practices for implementation.
Benefits of Connection Pooling
- Reduced Latency: Reusing existing connections minimizes the time spent on establishing new connections, thus reducing response times.
- Resource Management: Prevents the exhaustion of database resources by limiting the number of concurrent connections.
- Improved Performance: Enhances overall server performance by cutting down the overhead associated with frequent connection setups and teardowns.
Implementing Connection Pooling with mod_proxy
Apache’s mod_proxy module can be configured to enable connection pooling. To use connection pooling effectively, you may need to enable and configure mod_proxy_http and mod_proxy_balancer modules.
Step-by-Step Configuration
- Enable the Modules
First, ensure that the required modules are enabled. These can typically be enabled by executing the following commands:
sudo a2enmod proxy
sudo a2enmod proxy_http
sudo a2enmod proxy_balancer
sudo a2enmod lbmethod_byrequests
- Edit the Apache Configuration
Edit your Apache configuration file, usually located at /etc/apache2/httpd.conf or /etc/apache2/apache2.conf, and configure the ProxyPass and ProxyPassReverse directives.
Example configuration:
# Define a balancer

    # Using byrequests load balancing method
    BalancerMember http://dbserver1:8080 connectiontimeout=5 retry=60 max=20
    BalancerMember http://dbserver2:8080 connectiontimeout=5 retry=60 max=20
    ProxySet lbmethod=byrequests


# Use the defined balancer
ProxyPass "/app" "balancer://mycluster"
ProxyPassReverse "/app" "balancer://mycluster"
In the above example:
- BalancerMember: Represents each backend server with settings like
connectiontimeout and max, defining how many connections are pooled.
- ProxySet: Defines the load balancing method.
Best Practices for Connection Pooling
- Monitor and Adjust: Regularly monitor your connection pool usage and adjust the configurations (e.g.,
max connections) as needed based on server load.
- Timeouts: Configure appropriate timeouts to ensure connections do not remain open idle for too long.
- Error Handling: Ensure retry mechanisms are in place to handle connection failures gracefully (
retry parameter).
Conclusion
By enabling connection pooling, you can greatly enhance the efficiency of database interactions, achieving lower latency and better resource management. This is an essential optimization for any high-traffic Apache server setup to ensure robust and reliable performance.
In conjunction with regular performance monitoring and load testing using tools like LoadForge, connection pooling can help maintain optimal performance levels and user experience on your Apache web server.
Optimizing Modules and Memory Utilization
Optimizing Apache modules and managing memory utilization are key steps in enhancing the performance of your web server. Apache comes with a plethora of modules, but not all of them are necessary for every setup. By carefully selecting the modules you need and disabling the others, you can significantly reduce the memory footprint and improve your server's efficiency. In this section, we'll explore tips for optimizing Apache modules and managing memory utilization effectively.
Identifying Necessary Modules
Apache's flexibility is partly due to its modular architecture. However, this also means it can load modules that your specific setup may not require. Here’s how you can identify and enable only the necessary modules:
-
List Loaded Modules:
To see all currently loaded modules, you can use the following command:
apachectl -M
This will display all active modules, allowing you to evaluate which ones are essential.
-
Disable Unnecessary Modules:
Once you’ve identified unnecessary modules, you can disable them by commenting the LoadModule directive in the Apache configuration file (usually httpd.conf or apache2.conf).
For example:
#LoadModule status_module modules/mod_status.so
-
Essential Modules:
Enable only the modules that are crucial to your server’s functionality. Typically, these include:
mod_rewrite: For URL rewriting.mod_ssl: For SSL/TLS support.mod_headers: For manipulating HTTP headers.mod_deflate: For Gzip compression.
Managing Memory Utilization
Optimizing memory utilization involves ensuring that Apache does not consume more memory than necessary. This can be achieved by configuring worker settings appropriately and managing the memory usage of each module.
Optimize Worker Settings
Apache uses different multi-processing modules (MPMs) to handle requests. The most common MPMs are prefork, worker, and event. Each has different memory usage characteristics:
-
Prefork MPM: Prefork creates a separate child process for each request. It’s simple and compatible with non-thread-safe libraries but uses more memory.
-
Worker MPM: Worker uses multiple threads per process, handling multiple requests per thread. This is more memory-efficient than prefork.
-
Event MPM: Event extends worker with better handling of keep-alive connections, improving scalability and memory use.
To switch to a more efficient MPM, edit your configuration file:
# Load the worker MPM module
LoadModule mpm_worker_module modules/mod_mpm_worker.so

# Optionally, disable prefork if it’s loaded
# LoadModule mpm_prefork_module modules/mod_mpm_prefork.so
Configuring Worker Parameters
Set appropriate values for worker parameters based on your server’s capacity:
<IfModule mpm_worker_module>
    StartServers          2
    MinSpareThreads      25
    MaxSpareThreads      75
    ThreadsPerChild      25
    MaxRequestWorkers   150
    MaxConnectionsPerChild   0
</IfModule>
Memory Usage of Modules
Some modules can consume a significant amount of memory. Follow these best practices to minimize memory usage:
Conclusion
By carefully selecting and configuring Apache modules, you can optimize memory utilization and improve your server's performance. Regularly review the necessary modules for your specific environment and configure worker settings based on your server’s capacity. These adjustments ensure that Apache runs efficiently and continues to deliver quick and reliable responses to client requests.
In the next section, we’ll discuss the importance of regular performance monitoring and how to use LoadForge for load testing to maintain optimal performance.
Regular Performance Monitoring and Load Testing
The Importance of Performance Monitoring and Load Testing
To ensure that your Apache server consistently delivers high performance and reliability, it is crucial to implement regular performance monitoring and load testing. Performance monitoring helps you track your server's health in real-time, identify bottlenecks, and gather data to make informed decisions about optimizations. Load testing, on the other hand, allows you to simulate high traffic conditions and ascertain how your server will handle peak loads.
Without regular monitoring and load testing, you risk server downtimes, slow response times, and a poor user experience, all of which can negatively impact your website's reputation and business outcomes. Establishing a routine for both activities can preemptively reveal issues and facilitate timely interventions.
Introduction to LoadForge for Load Testing
LoadForge is a powerful and easy-to-use tool designed specifically for load and performance testing. By integrating LoadForge into your performance routines, you can simulate concurrent users, measure how your Apache server handles load, and gather insightful metrics to guide your tuning process.
Setting Up LoadForge for Apache Load Testing
Here's a step-by-step guide to using LoadForge to evaluate your Apache server's performance:
-
Sign Up and Log In:
- Create an account on LoadForge.
- Log in to the LoadForge dashboard.
-
Create a New Test:
- Navigate to the "Tests" section and click on "Create New Test".
- Enter the test name and target URL (your Apache server's URL).
-
Configure Load Parameters:
- Concurrent Users: Set the number of concurrent users to simulate.
- Duration: Specify the duration for which you want the load test to run.
- Additional configurations such as ramp-up periods and custom scripts can also be defined.
-
Execute the Test:
- Click on "Run Test" to begin the load simulation.
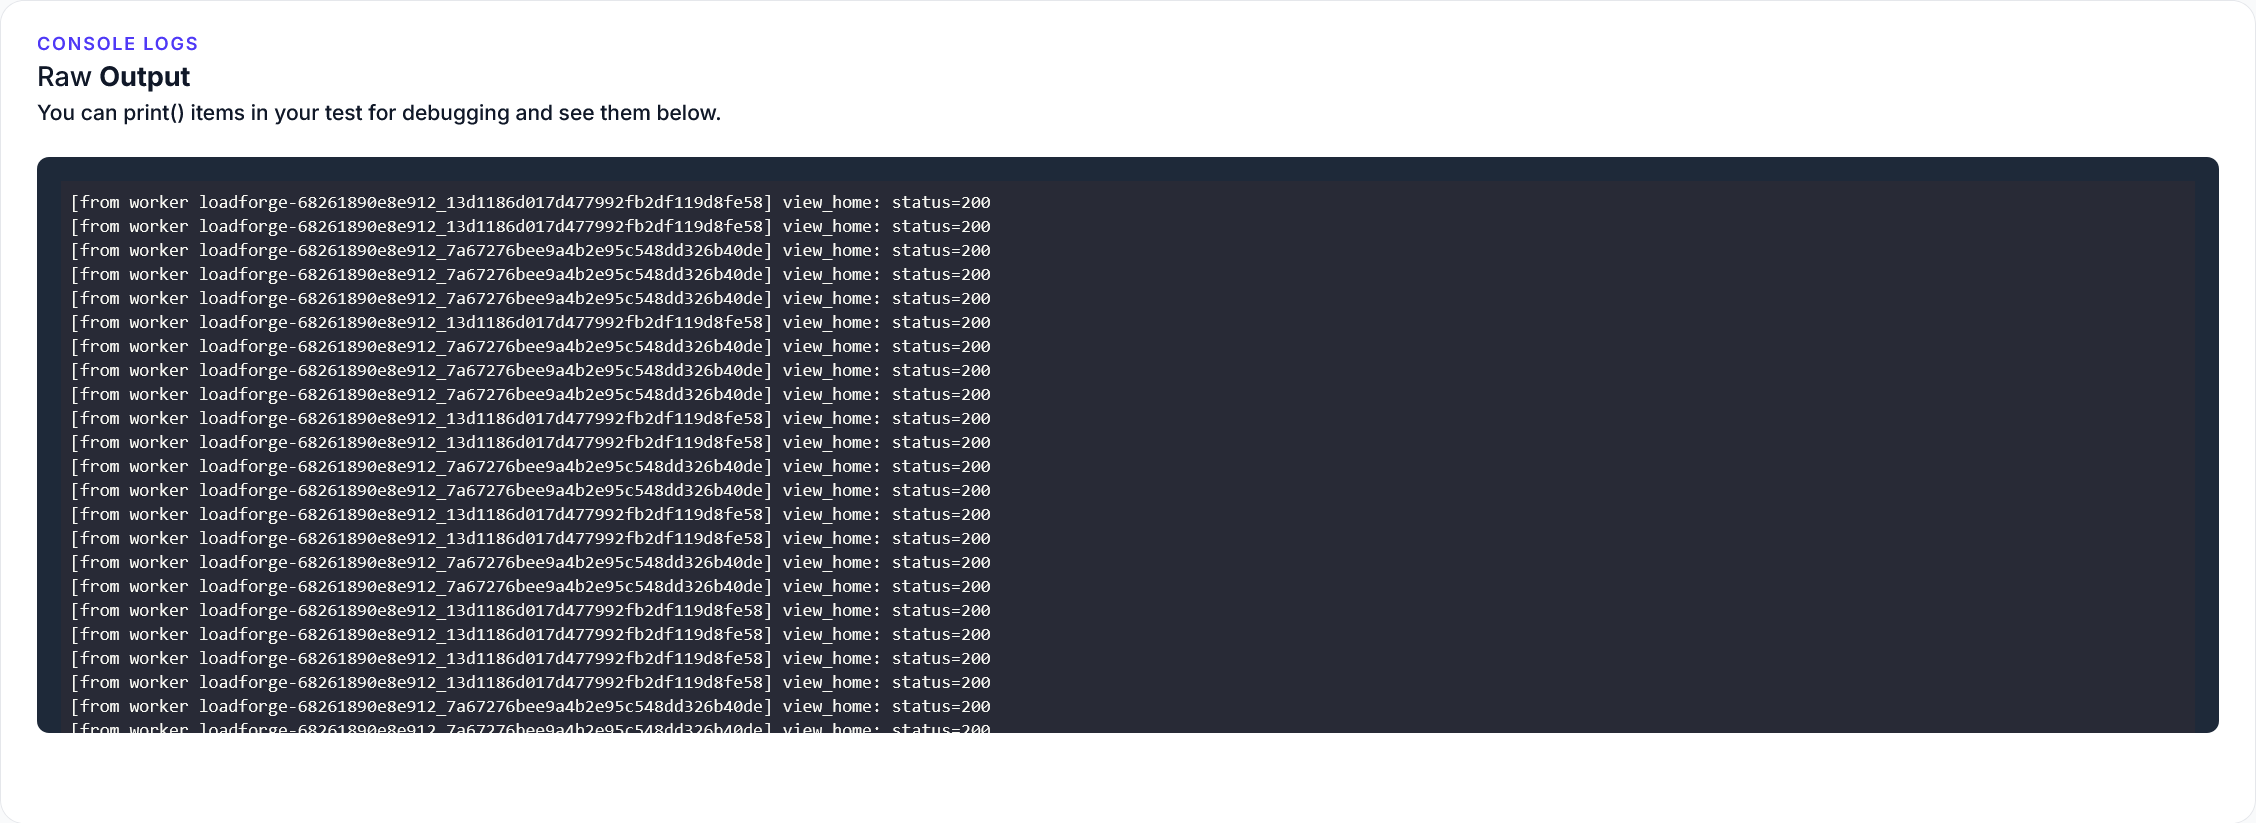
- LoadForge will start sending traffic to your Apache server, logging performance metrics in real-time.
-
Analyze Results:
- After the test completes, analyze the reports generated by LoadForge.
- Focus on metrics such as response times, throughput, error rates, and resource usage.
Here's an example of how you might configure a simple load test via the LoadForge dashboard:
{
  "testName": "Apache Performance Test",
  "targetURL": "http://example.com",
  "concurrentUsers": 100,
  "duration": "10m",
  "rampUpTime": "2m"
}
Utilizing the Data Acquired
Once you obtain the load test results, use them to:
- Identify Bottlenecks: Look for operations where response times are unacceptably high or resources are being overutilized.
- Optimize Configuration: Refine your Apache configuration settings based on the test outcomes. For example, increase
MaxClients or adjust the KeepAlive settings if needed.
- Validate Changes: After applying optimizations, re-run the load tests to ensure that the changes have positively impacted performance without introducing new issues.
Integrating Continuous Monitoring
Beyond load testing, integrate ongoing performance monitoring:
- Use Monitoring Tools: Implement performance monitoring tools such as Datadog, New Relic, or Nagios to continually track server metrics.
- Set Alerts: Configure alerts to notify you of any performance degradation or irregularities.
- Regular Reviews: Routinely review performance data to stay ahead of potential issues.
By combining regular performance monitoring with strategic load testing using LoadForge, you can maintain your Apache server's optimal performance, ensuring a smooth and efficient user experience. Regular testing and monitoring allow you to quickly iterate on configurations and confidently handle traffic surges.
End each step with timely reviews and adjustments to continually fine-tune your Apache server’s performance. By making performance monitoring and load testing a part of your regular maintenance routine, you create a robust, reliable web server environment prepared to handle various traffic loads efficiently.