Introduction to Caddy Server
Caddy Server is a modern, open-source web server written in Go, known for its simplicity and powerful features, making it an appealing alternative to more traditional web servers like Nginx. One of the standout characteristics of Caddy is its out-of-the-box support for HTTPS, automatically handling SSL/TLS certificate issuance and renewal with Let’s Encrypt. This feature is exceptionally beneficial for developers aiming to simplify their setup processes and enhance the security of their applications.
Key Features of Caddy Server
-
Automatic HTTPS: By default, Caddy secures your site with HTTPS, eliminating the need to manually setup SSL certificates.
-
Simplicity: Caddy can be run with a minimal configuration, often just a few lines in the Caddyfile to get a site up and running.
-
Extensibility: With a modular architecture, Caddy's functionality can be extended with plugins. This allows you to tailor the server to your specific needs without bloating the core system.
-
Performance: Caddy is built with Go, ensuring it takes full advantage of modern hardware with its high-performance networking and concurrency models.
Benefits of Using Caddy for PHP Applications
Using Caddy as a web server for PHP applications offers several advantages over Nginx:
-
Simplified Configuration: PHP developers can benefit from Caddy's straightforward setup. Configuring PHP is often as simple as specifying the fastcgi directive pointing to the PHP-FPM service.
-
No Need for Additional SSL Configuration: Caddy handles SSL/TLS certificates automatically, reducing the overhead and potential misconfigurations associated with manual SSL setups on Nginx.
-
Modern HTTP/2 Support: Caddy supports HTTP/2 by default, promoting better use of network resources and faster content load times, which is particularly beneficial for dynamic PHP applications.
-
Developer-friendly: With a less complex syntax for configuration files and automatic reloads upon changes, Caddy is particularly friendly for development environments.
Comparing Caddy and Nginx
While Nginx is renowned for its performance and flexibility, Caddy brings a more streamlined, developer-oriented approach to serving web applications:
| Feature |
Caddy |
Nginx |
| HTTPS Setup |
Automatic with Let’s Encrypt |
Manual setup required |
| Configuration |
Simple and human-readable |
Complex and verbose |
| Performance |
Optimized for concurrency |
Highly tunable performance |
| Customizability |
Extensible via plugins |
Extensible via modules |
For PHP developers, especially those managing their infrastructure or working in small teams without dedicated DevOps support, Caddy presents a robust solution that minimizes setup time and maintenance overhead while ensuring applications are served securely with modern protocols. By transitioning from Nginx to Caddy, developers can reallocate their efforts from managing web server intricacies to focusing more on developing their PHP applications.
Prerequisites for Migration
Before transitioning your PHP application from Nginx to Caddy, it is crucial to set up a proper environment and ensure all prerequisites are met. This section provides a comprehensive guide on the initial steps required to prepare for a successful migration.
1. System Requirements
Ensure that your system meets the minimum requirements to run Caddy and PHP efficiently. Caddy can run on Linux, macOS, and Windows. Check the following prerequisites:
- Operating System: Linux, macOS, or Windows
- Memory and CPU: Adequate resources depend on your application's load; at least 1 GB of RAM and a single CPU core for small applications
- Disk Space: Minimum of 10 GB to accommodate logs, Caddy binaries, and your application code
2. Installing Caddy
Caddy can be installed easily across various platforms. Here’s how you can install Caddy on a Linux system:
sudo apt install -y debian-keyring debian-archive-keyring apt-transport-https
curl -1sLf 'https://dl.cloudsmith.io/public/caddy/stable/gpg.key' | sudo tee /etc/apt/trusted.gpg.d/caddy-stable.asc
curl -1sLf 'https://dl.cloudsmith.io/public/caddy/stable/debian.deb.txt' | sudo tee /etc/apt/sources.list.d/caddy-stable.list
sudo apt update
sudo apt install caddy
For other operating systems, please refer to the official Caddy documentation.
3. Configuring PHP
Caddy interacts with PHP through FastCGI. Ensure that PHP and the necessary extensions are installed:
sudo apt update
sudo apt install php-fpm php-mysql php-xml php-mbstring
You should configure PHP-FPM to listen on a socket or on an IP address and port. For example, to listen on a Unix socket:
; Edit the appropriate section in your php-fpm configuration
; Typically found in /etc/php/{your-php-version}/fpm/pool.d/www.conf

listen = /run/php/php-fpm.sock
listen.owner = www-data
listen.group = www-data
Ensure the PHP-FPM service is running:
sudo systemctl start php-fpm
4. Verifying PHP Configuration
Test that PHP is configured correctly by creating a simple PHP info file:
<?php phpinfo(); ?>
Save this file in your web directory and try accessing it via a web browser. Ensure it displays the PHP configuration details correctly.
5. Backup
Before migrating, it's wise to back up your existing Nginx configurations and any web applications. This step ensures that you can revert the changes if anything goes wrong during the migration.
sudo cp /etc/nginx/nginx.conf /etc/nginx/nginx.conf.backup
tar -zcvf www_backup.tar.gz /var/www/html/
6. Preparing for Downtime
Plan for any potential downtime. Inform your users in advance and select a low-traffic window to perform the migration. Prepare rollback plans and quick access to support if immediate troubleshooting is required.
Conclusion
Completing these preliminary steps sets a strong foundation for a smooth migration from Nginx to Caddy. With backups in place, PHP setup, and Caddy installed, you are now ready to proceed to configure Caddy to serve your PHP applications efficiently.
Configuring Caddy for PHP
When transitioning your PHP applications from Nginx to Caddy, configuring Caddy correctly is crucial to harness its full potential in terms of performance and functionality. This section will guide you through setting up your Caddyfile to handle PHP requests efficiently, using reverse proxy configurations and optimizing specific settings for PHP workloads.
Step 1: Basic Caddyfile Configuration
Firstly, create a Caddyfile if you haven’t already. This file will serve as the main configuration file for Caddy, similar to Nginx's server blocks. Here's a simple example to start with:
yourwebsite.com {
    root * /var/www/yourwebsite
    file_server
}
This configuration directs Caddy to serve files from /var/www/yourwebsite whenever a request is made to yourwebsite.com.
Step 2: Configure PHP-FPM
To handle PHP files, Caddy uses PHP-FPM (FastCGI Process Manager). You will need to set up a reverse proxy to your PHP-FPM service. Firstly, ensure PHP-FPM is installed and running on your server.
Configure PHP-FPM Pool
Ensure your PHP-FPM configuration (/etc/php/7.x/fpm/pool.d/www.conf by default) is set to listen on a socket or IP address and port. For example:
listen = 127.0.0.1:9000
Then in your Caddyfile, configure Caddy to handle .php files by forwarding them to the PHP-FPM service using FastCGI. Here's how you can do it:
yourwebsite.com {
    root * /var/www/yourwebsite
    php_fastcgi 127.0.0.1:9000
    file_server
}
This configuration tells Caddy to send all requests for PHP files to the PHP-FPM service running on 127.0.0.1:9000.
Step 3: Optimize Performance Settings
To optimize your PHP application's performance, you can adjust several settings in Caddy as well as PHP-FPM:
-
Timeouts: Ensure you have appropriate timeout settings for your PHP scripts in both the Caddyfile and PHP-FPM configuration. This could help in managing long-running scripts better.
-
Max Concurrent Connections: You can limit the number of concurrent connections to the PHP-FPM pool to avoid overwhelming the server during high traffic.
-
Static File Caching: Use Caddy's caching capabilities to cache static assets, which reduces the load on your server by serving cached content for subsequent requests.
Here’s a snippet to set timeouts and enable caching:
yourwebsite.com {
    root * /var/www/yourwebsite
    php_fastigi 127.0.0.1:9000 {
        env front_controller_active true
        resolve_root_symlink
        dial_timeout 60s
        read_timeout 300s
        write_timeout 300s
    }
    header {
        # Enable HTTP caching
        Cache-Control "public, max-age=3600"
    }
    file_server
}
Step 4: Testing Your Configuration
After setting up your Caddyfile, it's important to test the configuration to ensure that everything is working as expected:
-
Restart Caddy to apply the changes:
systemctl restart caddyservice
-
Access your PHP application through a browser and verify that it is serving pages correctly.
-
Check Caddy's logs for any errors and adjust your configuration if needed:
journalctl -u caddyservice
By following these steps, your Caddy server should now be well configured to manage your PHP applications efficiently, providing a robust, secure, and high-performance environment. Adjustments and optimizations may vary based on specific application requirements and server specifications.
Migrating from Nginx to Caddy
Transitioning your PHP applications from Nginx to Caddy involves converting the Nginx server blocks (virtual hosts) into Caddy’s Caddyfile directives. This section provides a step-by-step guide to help make the migration process as smooth as possible.
Step 1: Backup Existing Configuration and Data
Before making any changes, ensure you have backups of your Nginx configurations, PHP files, and any other important data. This precaution will help you restore the original state if the migration doesn't go as planned.
Step 2: Understand Caddyfile Syntax
Caddy's configuration file, known as a Caddyfile, uses a clean and simple syntax. It's important to familiarize yourself with this syntax as it differs significantly from Nginx’s style. Review Caddy's documentation for a complete guide on Caddyfile syntax.
Step 3: Install Caddy
Ensure that Caddy is installed on your system. Caddy can be installed using package managers like apt or yum, or from a binary. For the latest instructions, visit the official Caddy website.
Step 4: Translate Nginx Configuration to Caddyfile
The main task in migrating from Nginx to Caddy is translating the Nginx server blocks into Caddy’s Caddyfile directives. Below is an example of how a typical Nginx configuration might be translated into a Caddyfile configuration for a PHP application.
Nginx Configuration:
server {
    listen 80;
    server_name mywebsite.com;

    root /var/www/mywebsite;
    index index.php;

    location / {
        try_files $uri $uri/ /index.php$is_args$args;
    }

    location ~ \.php$ {
        include snippets/fastcgi-php.conf;
        fastcgi_pass unix:/var/run/php/php7.4-fpm.sock;
    }
}
Caddyfile Configuration:
mywebsite.com {
    root * /var/www/mywebsite
    php_fastcgi unix//var/run/php/php7.4-fpm.sock
    file_server
}
Step 5: Test the Configuration
Before going live, test the Caddy configuration in a staging environment. Make sure that all aspects of your PHP application are performing as expected. This includes testing URL rewrites, SSL termination, static file serving, and PHP processing.
Step 6: Go Live with Caddy
Once you've tested your configuration and are satisfied with the functionality and performance, you can go ahead and switch your live environment to use Caddy. Monitor the logs and performance closely for any issues that might arise post-migration.
Step 7: Disable and Remove Nginx
After successfully migrating to Caddy and ensuring everything is functioning correctly, you can safely disable and remove Nginx from your system. This step helps to free up resources and avoid any potential conflicts.
Summary
This step-by-step transition outlines the process from Nginx to Caddy, focusing on the conversion of server blocks to Caddyfile directives and ensuring the configuration properly supports PHP applications. Following these steps should help minimize downtime and provide a seamless migration experience.
Security Enhancements with Caddy
When considering the security of web applications, especially those written in PHP, the choice of web server plays a pivotal role. Caddy server distinguishes itself as a modern web server with advanced security features that are simple to deploy and manage. This section outlines the significant security enhancements that Caddy offers for PHP applications, focusing on its automatic SSL/TLS certificate management and additional security provisions.
Automatic SSL/TLS with Let's Encrypt
One of the most notable features of Caddy is its ability to automatically manage SSL/TLS certificates through Let's Encrypt. This functionality is built-in and requires minimal configuration, ensuring that encrypted HTTPS connections are standard for all served sites without any additional overhead for developers. In the context of PHP applications, this means enhanced security for data in transit and better compliance with data protection regulations.
To enable HTTPS in Caddy, you merely need to specify your domain name in the Caddyfile. Caddy takes care of the rest, from obtaining the certificate to renewing it before expiration. This automated process eliminates common human errors in certificate management, such as missed renewals that can lead to service interruptions.
example.com {
    root * /var/www/html
    php_fastcgi unix//run/php/php7.4-fpm.sock
    file_server
}
In the configuration above, HTTPS is automatically enabled and managed for example.com without any additional directives needed for SSL.
Built-in Security Features
In addition to automatic SSL/TLS, Caddy includes several other security features that benefit PHP applications, including:
-
HTTP/2 and HTTP/3 Support: By default, Caddy supports HTTP/2 and HTTP/3, leading to improved performance and security. These protocols reduce latency and are designed to prevent common security flaws found in older versions.
-
Automatic Redirection of HTTP to HTTPS: Caddy configures secure HTTP redirects without requiring manual setup, ensuring that connections default to HTTPS and thereby increasing the security of data transmission.
-
Cross-Site Scripting (XSS) and Content Security Policy (CSP): Caddy can be configured to include headers that protect against XSS and enforce CSP. This is crucial for PHP applications where dynamic content is frequent, and the risk of code injection attacks is higher.
Here is an example of how to add security headers in your Caddyfile:
example.com {
    header {
        # Enable HTTP Strict Transport Security (HSTS)
        Strict-Transport-Security "max-age=31536000;"
        # Enable XSS Protection
        X-XSS-Protection "1; mode=block"
        # Content Security Policy
        Content-Security-Policy "default-src 'self'"
    }
    root * /var/www/html
    php_fastcgi unix//run/php/php7.4-fpm.sock
    file_server
}
Why Security Matters for PHP Applications
PHP, being a widely-used server-side scripting language, is frequently targeted by attackers. Common vulnerabilities in PHP applications include SQL injection, CSRF (Cross-Site Request Forgery), and XSS, all of which Caddy helps mitigate through enhanced security practices. Automatically handling TLS certificates, enforcing strong TLS protocols, and providing easy configuration for security headers increases the robustness of PHP applications against attacks.
Conclusion
Switching to Caddy from Nginx not only simplifies web server management but markedly improves the security posture of your PHP applications. With features like automatic SSL certificate issuance and comprehensive protocol support, Caddy ensures that security is a priority, not an afterthought, making it an excellent choice for modern PHP applications.
Performance Testing with LoadForge
When switching your PHP applications from Nginx to Caddy, it's crucial to evaluate how the change affects your application's performance. LoadForge offers a robust load testing tool designed to simulate traffic and help assess server performance under various conditions. This section will guide you through setting up and conducting performance tests comparing the results from Caddy to those from Nginx.
Setting Up LoadForge Tests
-
Create a LoadForge Account: Begin by signing up for an account at LoadForge. Choose a plan that suits the scale of testing you require.
-
Script Preparation: LoadForge uses custom scripts to simulate user behavior on your website. For PHP applications, you'll likely want to test various endpoints that feature dynamic content handling, user authentication, database interactions, and API calls.
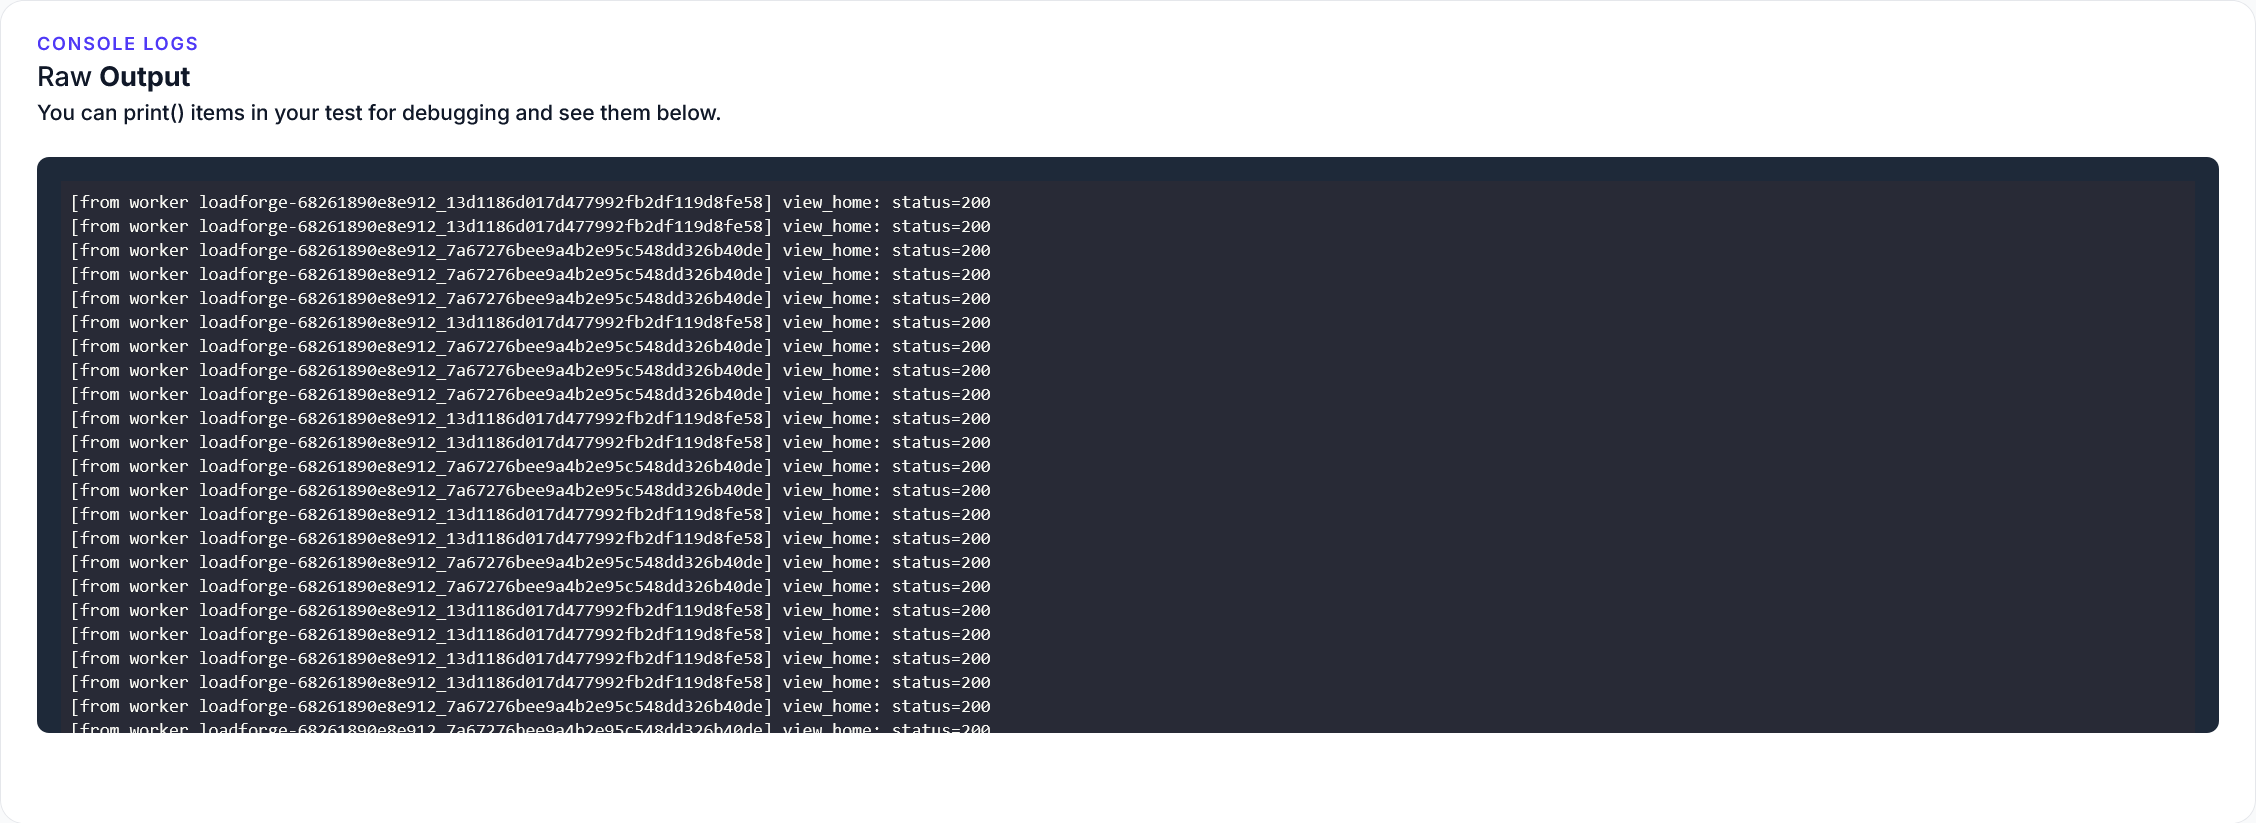
Here's a basic example of a LoadForge script. Adjust the number of users (clients) and test duration (duration) as necessary:
from loadforge.http import HttpUser

class WebsiteUser(HttpUser):
    clients = 100
    duration = 600

    def test_main(self):
        self.client.get("/your_php_endpoint")
        self.client.post("/login", {"username": "test", "password": "test123"})
-
Deploy Your Scripts: Once you have your script ready, upload it to LoadForge in the script section.
Conducting the Tests
-
Test Environment: Ensure both the Caddy and Ngindnx environments are set up identically in terms of hardware and network capabilities, to ensure an apple-to-apple comparison.
-
Running the Test: Initiate the performance test via LoadForge dashboard. Be sure to run the tests multiple times for each server to account for any inconsistencies in networking or server performance.
-
Monitoring: While the tests are running, monitor your server's resource usage. Keep an eye on CPU, memory, and IO to identify potential bottlenecks.
Analyzing the Results
LoadForge provides detailed reports and analytics that help you understand the performance characteristics of your PHP applications under different loads. Compare the following metrics across the tests from both Nginx and Caddy servers:
- Response Times: Average, median, and 95th percentile response times.
- Throughput: Requests per second, bytes transferred per second.
- Error Rates: Percentage of requests that resulted in errors.
- Resource Usage: CPU and memory usage during the test.
Here's an example of how you might format the comparison results:
| Metric |
Nginx |
Caddy |
| Average Response Time (ms) |
150 |
130 |
| Requests per Second |
1000 |
1050 |
| Error Rate (%) |
0.5 |
0.4 |
| CPU Usage (%) |
75 |
70 |
Interpreting the Data
Evaluate the performance data to determine if the switch to Caddy yields better performance and scalability. Look not only for faster response times and higher throughput but also for reduced error rates and resource usage. These indicators will help validate the efficiency and reliability of Caddy for your specific PHP applications.
Concluding the Testing Phase
Based on the results from LoadForge tests, you'll have a clear picture of how the transition from Nginx to Caddy impacts the performance of your PHP applications. These insights are critical for making informed decisions about your production environment and further tuning your server configurations.
By leveraging LoadForge's powerful testing capabilities, you can ensure that your server setup is optimized for both performance and reliability, ensuring a smooth user experience for your PHP applications.
Troubleshooting Common Issues
When migrating from Nginx to Caddy to serve PHP applications, several issues might arise due to differences in configuration styles, handling of PHP processes, or simply the system's inherent behavior changes. This section aims to address some of these common problems and provides effective troubleshooting steps.
1. PHP Not Executing Correctly
Symptom: PHP scripts might either not execute or return raw PHP code instead of executing it.
Solution: Ensure that your Caddyfile has the correct directives to handle PHP requests via FastCGI. This often involves making sure that the php_fastcgi directive is correctly pointing to your PHP-FPM service. A typical directive looks like this:
example.com {
    root * /var/www/html
    php_fastcgi localhost:9007
    file_server
}
Ensure PHP-FPM is running (systemctl status php7.4-fpm on most systems) and listening on the correct port as specified in your Caddyfile.
2. Incorrect Permissions or File Paths
Symptom: HTTP 403 or 404 errors indicating that the server cannot access or find PHP files.
Solution: Check the permissions of the directories and files under your website's root directory. Caddy, like any other web server, needs appropriate read (and execute for directories) permissions to serve the files. Use:
chmod -R 755 /var/www/html
Also, verify that the root directive in your Caddyfile points to the correct directory.
3. SSL/TLS Certificate Issues
Symptom: Errors related to SSL such as 'ERR_SSL_PROTOCOL_ERROR'.
Solution: Caddy automatically manages SSL certificates using Let's Encrypt unless overridden. Check for errors in your Caddy logs (journalctl -u caddy or /var/log/caddy.log) related to SSL. Issues could stem from rate limiting by Let's Encrypt, incorrect DNS configuration, or blocked HTTP/HTTPS ports. Ensuring that ports 80 and 443 are open on your firewall and that your domain correctly points to your server's IP address can solve many of these issues.
4. Performance Isn't as Expected
Symptom: After switching to Caddy, the application feels slower or less responsive than it was under Nginx.
Solution: This may be due to default settings in PHP-FPM or Caddy needing optimization. Review the PHP-FPM pool settings (/etc/php/7.4/fpm/pool.d/www.conf or similar) and consider adjusting pm.max_children, pm.start_servers, and other relevant settings based on your traffic and server size. Additionally, tuning Caddy's performance through directives like timeouts and limits can also affect responsiveness.
5. Configuration Migration Errors
Symptom: After migrating configurations from Nginx, some redirects or complex rules might not work as expected.
Solution: Nginx and Caddy syntax differ significantly. Review your Caddyfile for translated directives, especially complex rewrite or access rules. For redirects, ensure you're using Caddy's redir directive correctly:
redir /oldpath /newpath 301
Check Caddy’s documentation for specific syntax or equivalent directives compared to Nginx.
Conclusion
Most migration issues can be narrowed down to configuration errors, permission issues, or service misconfigurations. Always check Caddy's documentation for the latest features and configuration options. If issues persist, consulting Caddy's vibrant community or seeking professional support may be beneficial. Troubleshoot systematically, checking logs and configurations step by step to isolate and resolve issues effectively.
Conclusion and Further Resources
In this guide, we explored the significant advantages of transitioning your PHP applications from Nginx to Caddy. The simplicity of Caddy, combined with its automatic HTTP to HTTPS redirection and TLS certificate handling, offers a streamlined approach to web server management. Notably, Caddy's default security features and its capability to serve as a reverse proxy specifically optimized for PHP enhances both performance and security.
Key Takeaways:
- Simplicity and Efficiency: Caddy reduces the complexity in server configuration, especially with its concise Caddyfile, making it easier to manage and deploy even for newcomers.
- Automated SSL Management: The automatic issuance and renewal of SSL certificates by Caddy through Let's Encrypt simplifies secure HTTP communications.
- Performance Optimization: Caddy comes with modern HTTP/2 and HTTP/3 support out-of-the-box, which can significantly improve the loading times of your PHP applications.
- Enhanced Security: Beyond automatic HTTPS, Caddy includes built-in mechanisms to mitigate common security threats, providing a safer environment for your applications.
Further Resources
To delve deeper into the capabilities of Caddy and to explore more advanced configurations, the following resources are invaluable:
- Caddy Documentation: The official documentation provides comprehensive details on configuration options, modules, and examples tailored to different use cases.
- Caddy Community Forums: Engage with other Caddy users and contributors, seek advice, share experiences, and stay updated with the latest developments.
- Caddy's GitHub Repository: Access the source code, contribute to the project, and explore community-contributed plugins and integrations.
Advanced Configuration Examples:
To maximize your Caddy server's performance, consider exploring Caddy's advanced directives:
# Use gzip for content compression
encode gzip

# FastCGI for PHP
php_fastcgi localhost:9000 {
    env front_controller_active true
}

# Security headers
header {
    Strict-Transport-Security "max-age=31536000;"
    X-Content-Type-Options "nosniff"
    X-Frame-Options "DENY"
    Content-Security-Policy "default-src 'self'"
}

# Rate limiting and request timeouts
@heavyLoad {
    path /heavy-resource
}
route @heavyLoad {
    limit rate 10r/s
    respond "Calm down!" 429
}
For performance testing, consider using LoadForge to simulate different real-world traffic scenarios on your transitioned server. The insights gleaned from these tests can guide further optimizations and scalability improvements.
Final Words
Migrating from Nginx to Caddy for serving PHP applications not only streamlines the management of SSL/TLS certificates but also fine-tunes the server's performance and security configurations with minimal overhead. As you continue to expand your knowledge and utilization of Caddy, we encourage continuous experimentation with its features to fully leverage its potential in varied PHP environments.
The progression towards more automated and secure web services is aligning well with tools like Caddy, consolidating infrastructure and reducing the administrative burden on developers and system administrators alike.