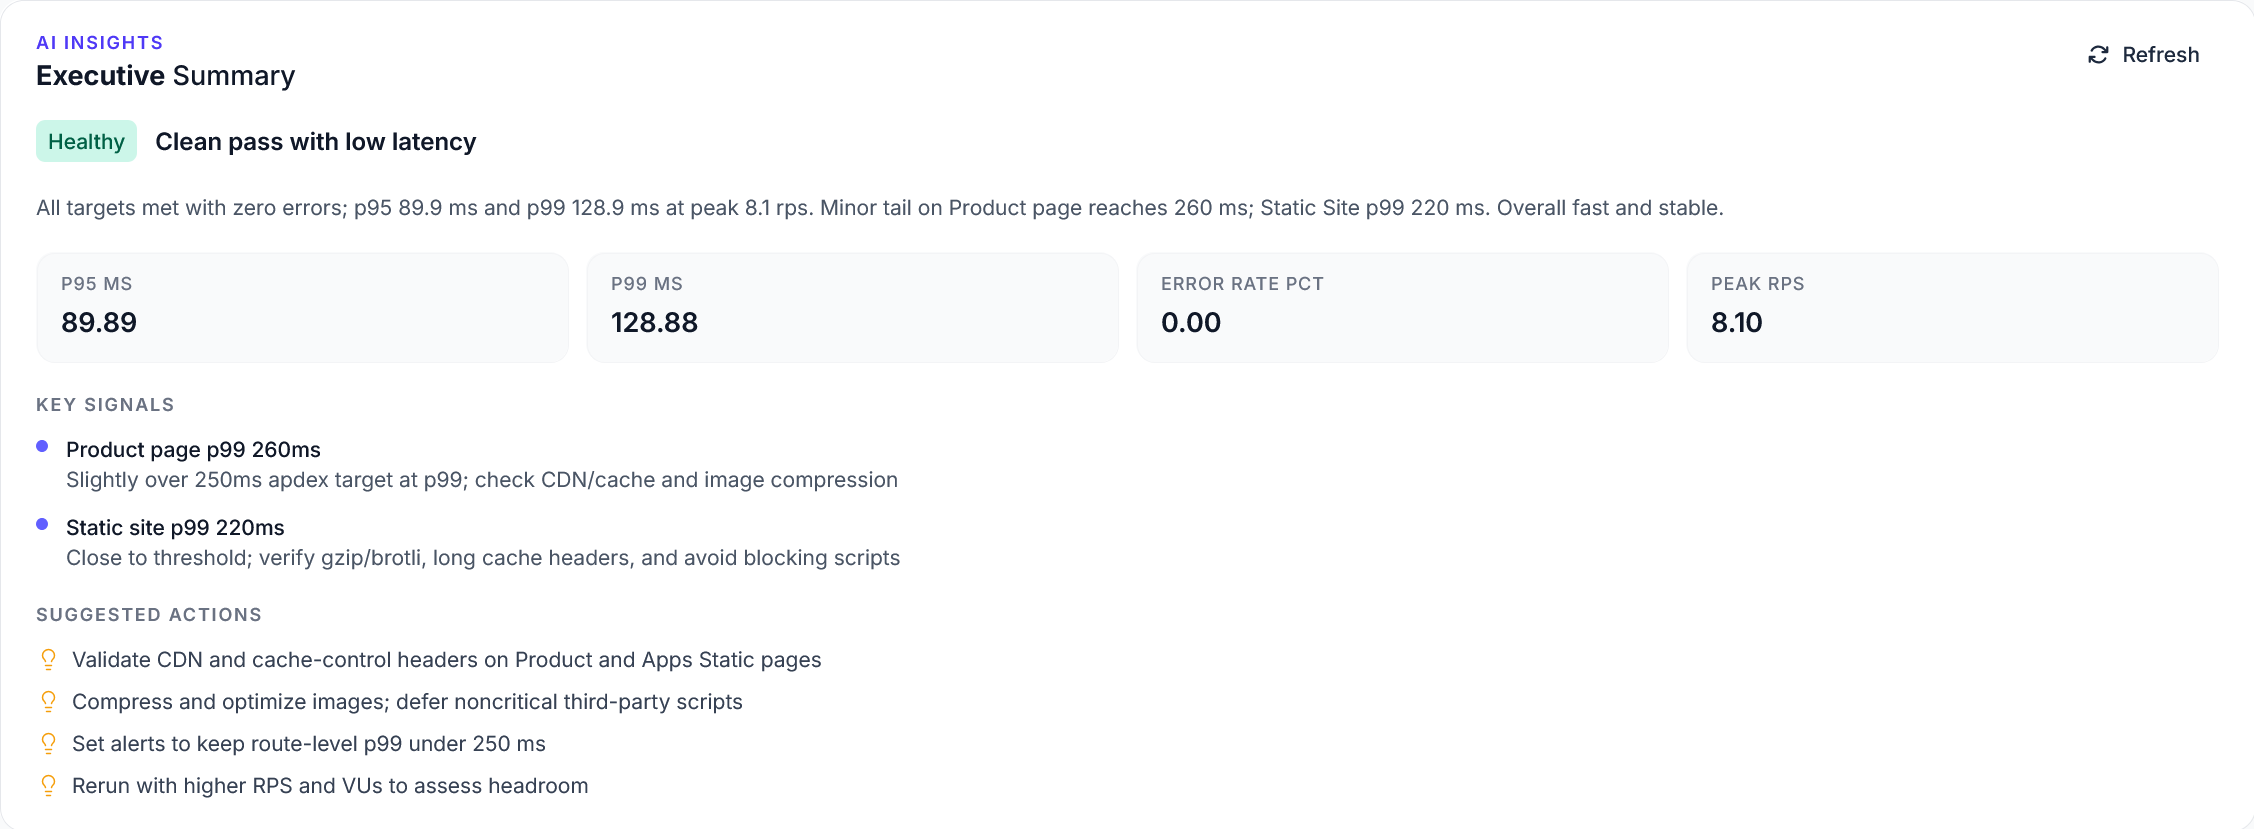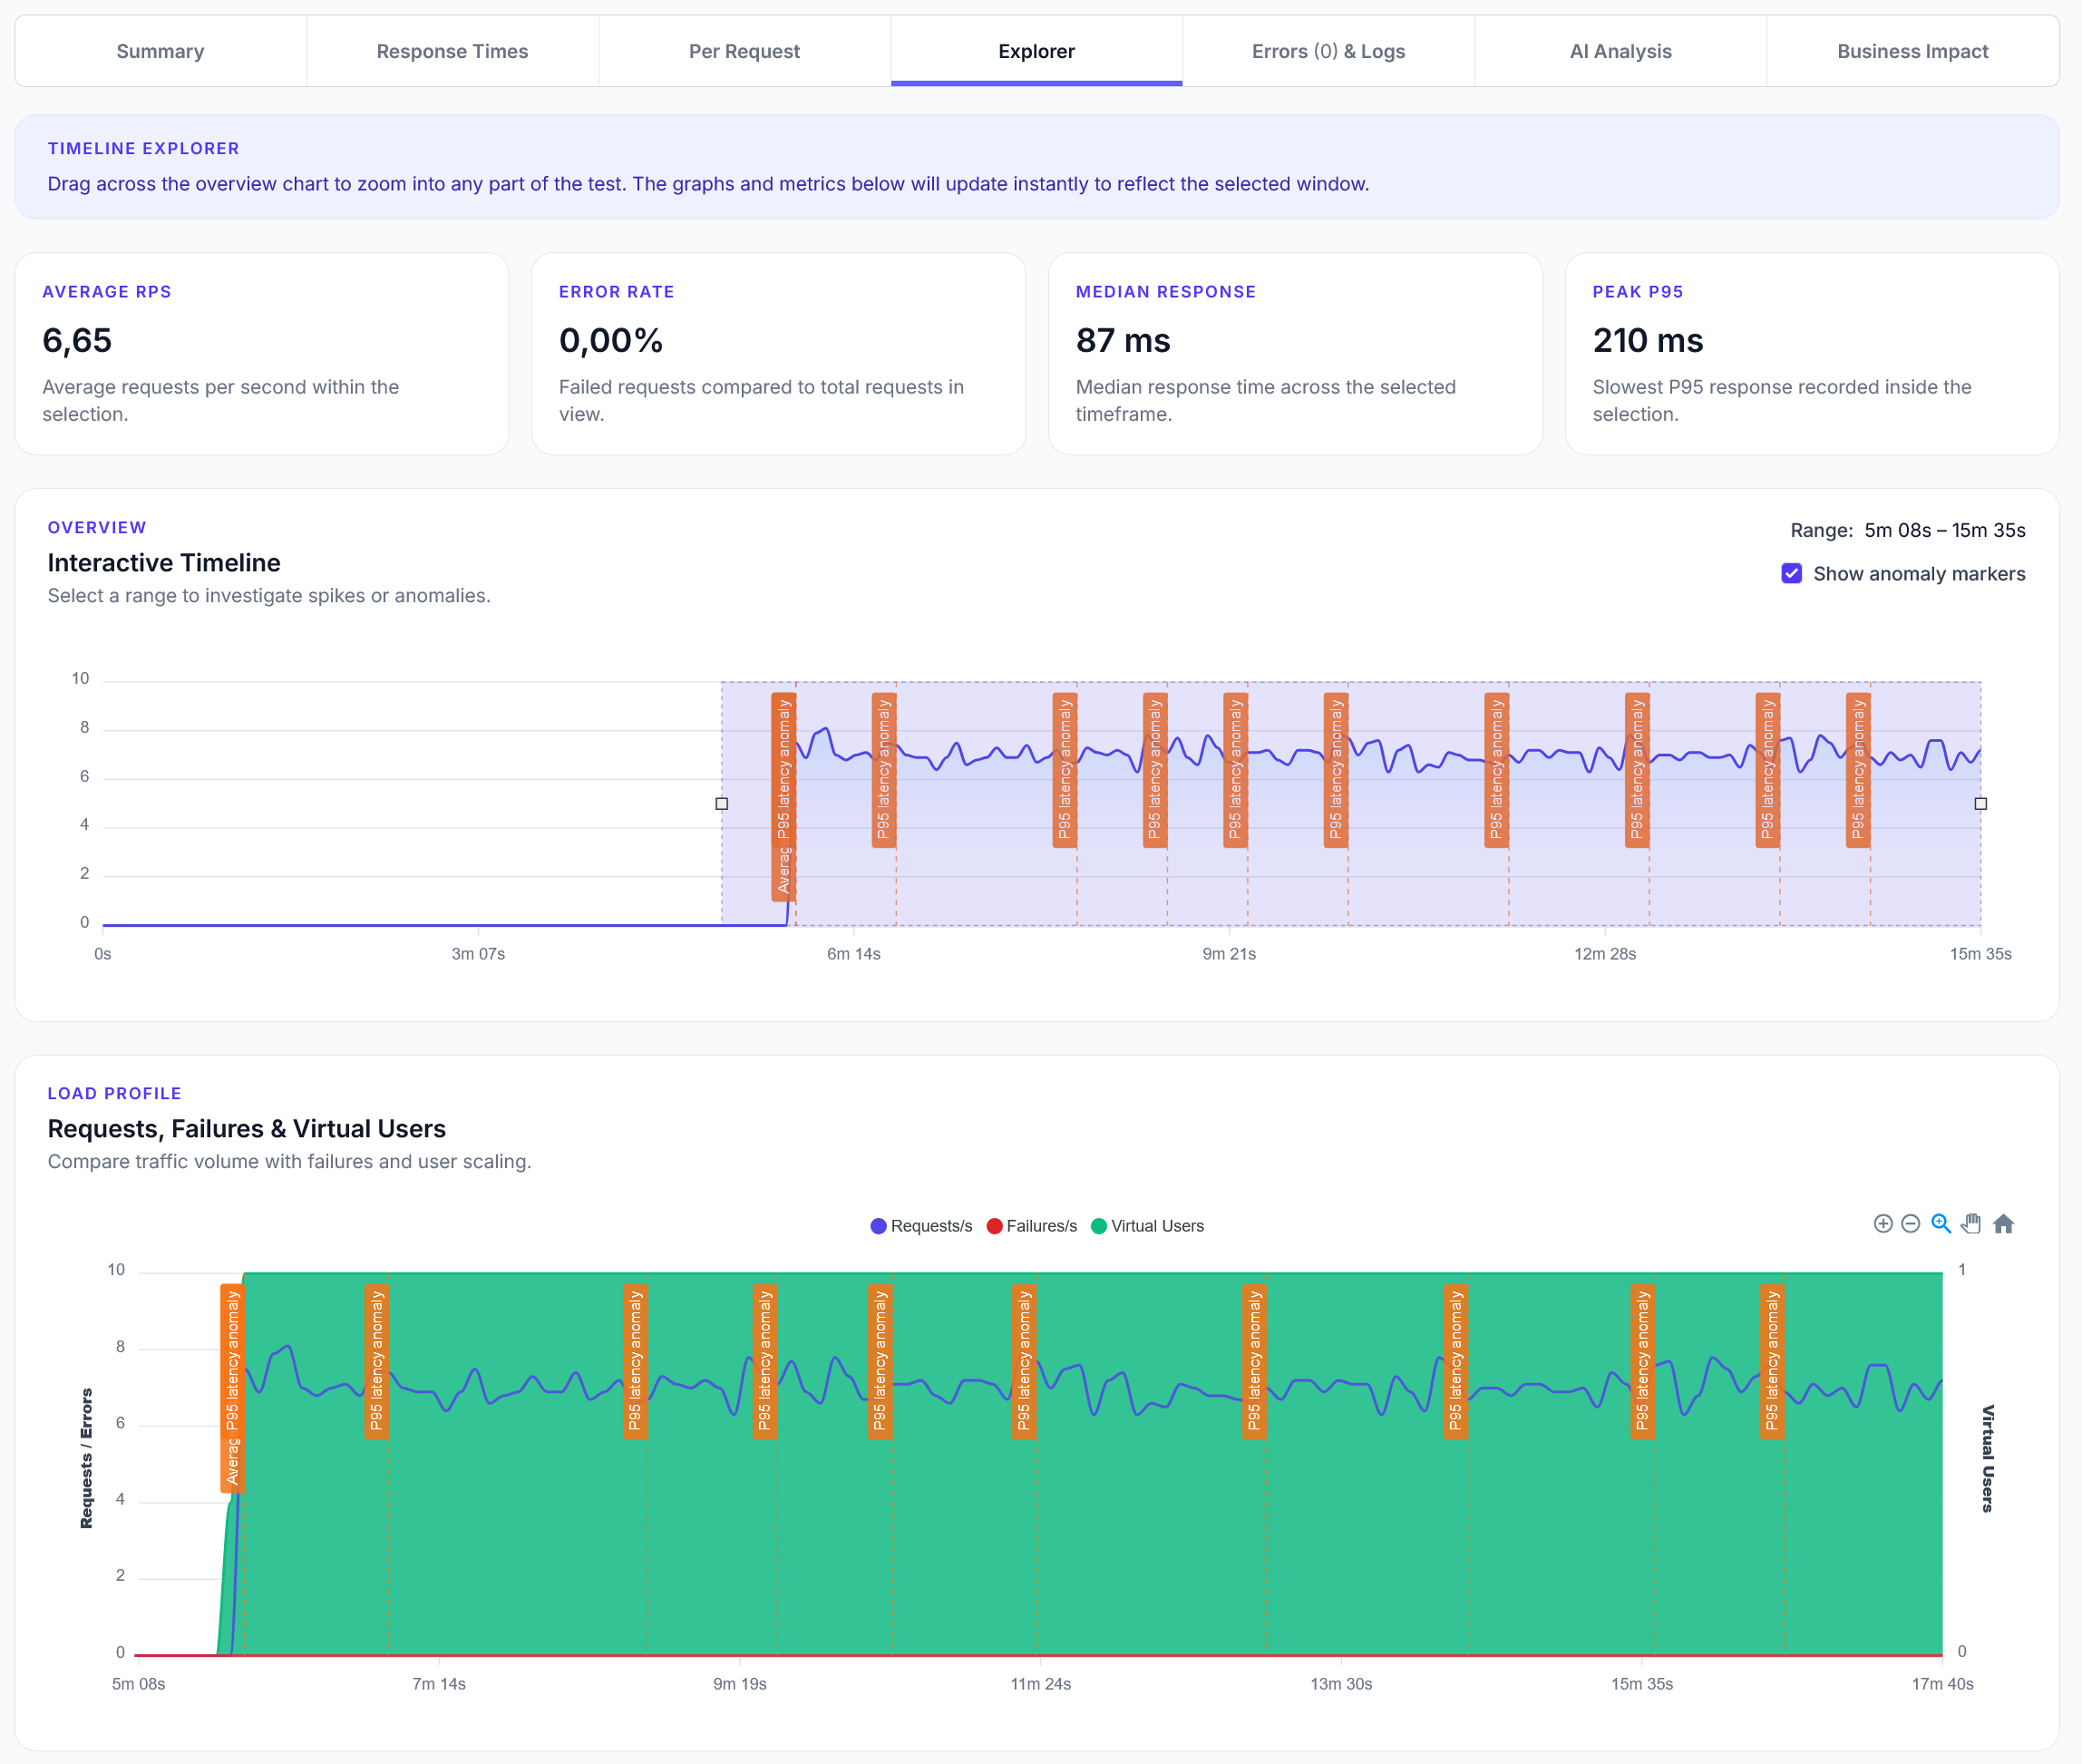
Explorer reports addition
We have added a new Explorer feature to reports, with a timeline scrubber and easy anomaly detection.
TLDR: Loadforge-cli is a Git-first command-line tool that integrates LoadForge load testing directly into your repository and CI/CD workflow, allowing you to sync tests, manage runs, and automate processes using GitHub Actions without a global installation.
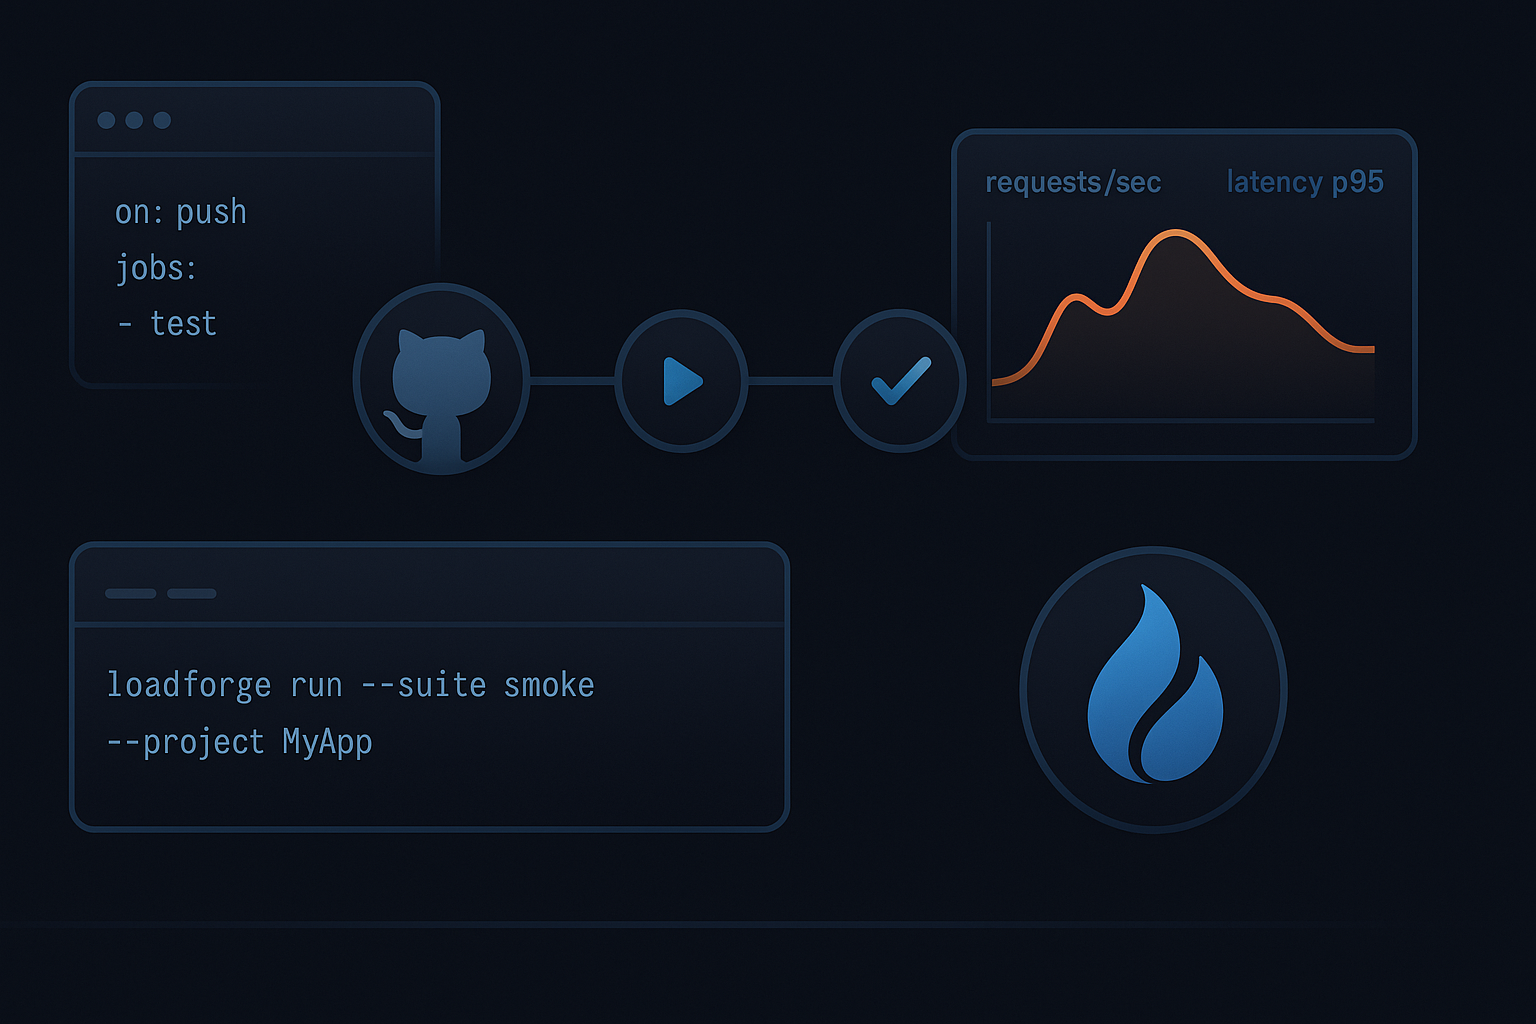
We’re excited to release loadforge-cli — a simple, powerful command-line tool that lets you manage LoadForge tests, hosts, and runs directly from your repository and CI/CD.
With loadforge-cli, your Locust scripts and test configs can live in Git, and your automations (syncing tests, starting runs, waiting for results) live in GitHub Actions. It’s the fastest way to make load testing part of your development workflow.
locustfile.py and test config in tests/<slug>/.host strings like https://example.com:443 — no manual host IDs.Full GitHub CI/CD examples: https://docs.loadforge.com/misc/github-cli
Use npx (no global install required):
npx loadforge-cli --help
# alias also available:
npx lf-cli --help
Add your API key via .env or CI secret:
API_KEY=your_loadforge_api_key
Each test lives in tests/<slug>/:
tests/<slug>/
  locustfile.py
  config.json
config.json is source-of-truth for your test configuration:
{
  "users": 200,
  "rate": 1,
  "servers": 2,
  "host": "https://example.com:443",
  "apdex_target": 300,
  "p95_target": 600,
  "error_perc_target": 0,
  "region_servers": { "nyc3": 1, "sfo3": 1 }
}
test_type = "load" is supported (for now)Bootstrap or refresh your repo from LoadForge:
npx loadforge-cli pull --out tests
This creates tests/<slug>/locustfile.py and tests/<slug>/config.json for each load test, resolving host_id to a host string automatically.
Keep LoadForge in sync with your repo:
# Update existing tests by slug; create and delete as needed
npx loadforge-cli push --dir tests --dry-run=false --allow-create --allow-delete
Start by slug:
RUN_ID=$(npx loadforge-cli start lf-website -d 5)
echo "$RUN_ID"
Wait with live spinner and human status:
npx loadforge-cli wait "$RUN_ID"
Exit codes:
On completion, the CLI prints a summary JSON (id, status, reqs/sec, response times, failures, etc.) for easy ingestion by other tools.
Interactive:
npx loadforge-cli create
Non-interactive:
npx loadforge-cli create --name docs-site --users 50 --host https://example.com:443
This scaffolds tests/<slug>/config.json and locustfile.py. Then create it remotely:
npx loadforge-cli push --allow-create
- name: Push tests to LoadForge
  env:
    API_KEY: ${{ secrets.API_KEY }}
  run: |
    npx loadforge-cli push --dir tests --dry-run=false --allow-create --allow-delete
- name: Start run
  env:
    API_KEY: ${{ secrets.API_KEY }}
  run: |
    RUN_ID=$(npx loadforge-cli start lf-website -d 5)
    echo "RUN_ID=$RUN_ID" >> $GITHUB_ENV

- name: Wait for result
  env:
    API_KEY: ${{ secrets.API_KEY }}
  run: |
    npx loadforge-cli wait "$RUN_ID"
More CI/CD examples and patterns: Read the Docs.
loadforge-cli makes LoadForge a natural part of your Git workflow: version, review, sync, run — all from your repo and pipelines. Try it in your project today.

LoadForge Team
The LoadForge Team